
Contact Us
Part 1 - Nginx for reverse proxying and authentication for backends
| It was a challenge to identify a solution for enabling this architecture: unsecured backends (think node.js) behind a feature-rich nginx reverse-proxy gateway. The reverse proxy handles SSL termination (TLS really), websockets proxying, and authentication. The backends don't require authentication, though they do need some authorization control (MongoDB for example - not included in this guide). The auth_request service used is oauth2_proxy in this example. This example was done on Ubuntu 18.04 as a reference. It used oauth2_proxy in "auth_request" mode, with nginx doing the actual user request proxying. |
Steps in the Set Up
- Set up GoLang on the production environment
- Install oauth2-proxy
- Prepare your nginx install and modules
- Plan your site structure, secure and unsecure areas/paths
- Do Auth0 Setup which in our case leveraged the free tier
- See also Nginx Reverse Proxy with Auth0 Part 2 details for final set up steps.
Go Language install
Make sure it's installed and you know where $GOPATH is set to.
 sudo mkdir /var/opt/go
 sudo chown <user>:<group> /var/opt/go
 export GOPATH=/var/opt/go
Vouch proxy was also considered. YMMV. We decided to use oauth2_proxy here.
oauth2-proxy solution set up
follow installation steps for installing oauth2-proxy:
https://oauth2-proxy.github.io/oauth2-proxy/installation
 $GOPATH/bin/oauth2_proxy
 # should be the position of your oauth2-proxy (we used underscore in the name - it's arbitrary)
Step 3 - nginx module set up
Be sure you have this module: http_auth_request_module
If you run "nginx -V" and see this in the output:
--with-http_auth_request_moduleThat is a good sign. If not, you may need to compile it in, or use a different nginx package which contains it.
Also set up your backend services (if you haven't already). Like node.js: this example uses a websockets test app on port 8082 and oauth2_proxy on port 8181 and another simple nodeJS backend on port 8081. The nginx terminates SSL connections. The backends are accessed using http.
Step 4 - Plan your site structure
You'll need to define secure and unsecure areas. Outside the Secure areas: some login page is needed, we put one at /log_in.html
Next is the callback URL for oauth2 proxy (using their defaults to make it easier): /oauth2/callback is the path for that. They provide a way to override this path.
Next is the nginx subrequest target: /oauth2/auth
Next we have the locations of our backends:
test webapp: /devapp/
test websockets app: /wsapp/
Secure static files area: /cb/
Some other areas non-secure.
Step 5 - Auth0 Set Up
Use your auth0 account, and you can create one for free if needed. Auth0.com will show you how.
Create your auth0 domain name: nnnnnn.auth0.com
Start with a "regular web application" and don't follow the quick start. We're not really using auth0 for an application setup.
Name your application.
Go into the "Settings" for your application. Copy your Client ID
and copy (keeping secret) your Client Secret, to use in the oauth2_proxy config.
Input the following into the allowed callback urls: https://your-site.com/oauth2/callback (optionally yours may be different, depending on the plan in step 4.
There is also one URL from Auth0 debugger application which should be added here, if you want to use that for debugging.
It's recommended for security to also add some CORS domain whitelist entries and some for web origin. It could break your setup if your domain is missing from these lists.
Probably good to include "http://localhost:8081/" or similar in these whitelists.
Reference screen shot: Applications View in Auth0. The test application also appears after we set that up. Only the regular web app is used in production.
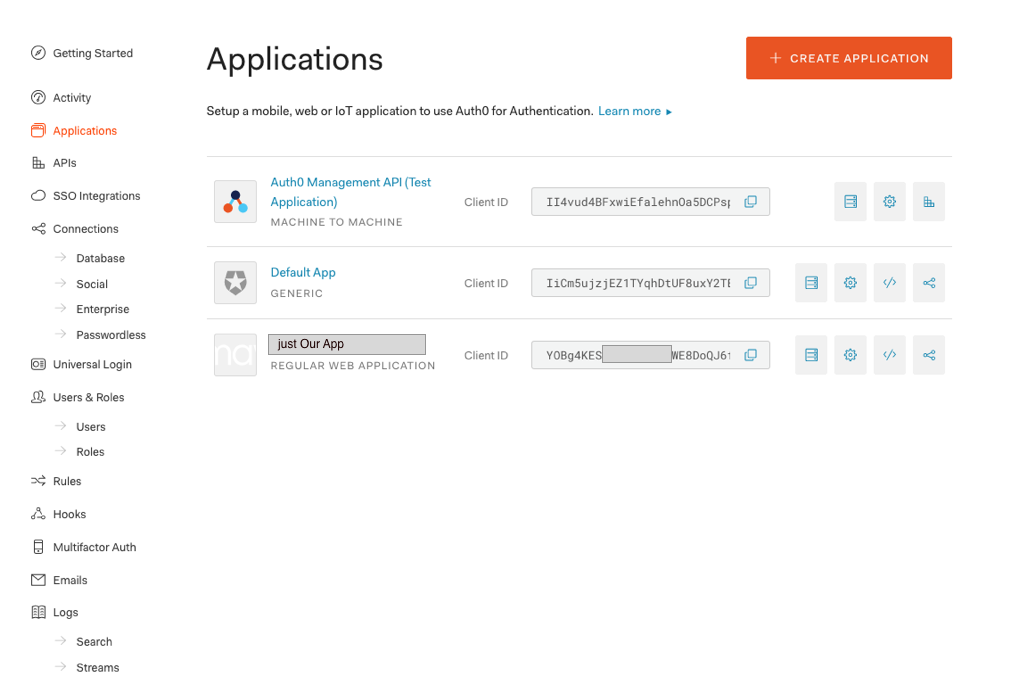
Connections settings in Auth0: Options are available for Google sign-on, Github sign-on and a whole lot of others. Also the possibility of just using Auth0 database to input your own user / password credential sets. (DIY). Reference screen shot: Connections View in Auth0 setup. We only used auth0 database at first.
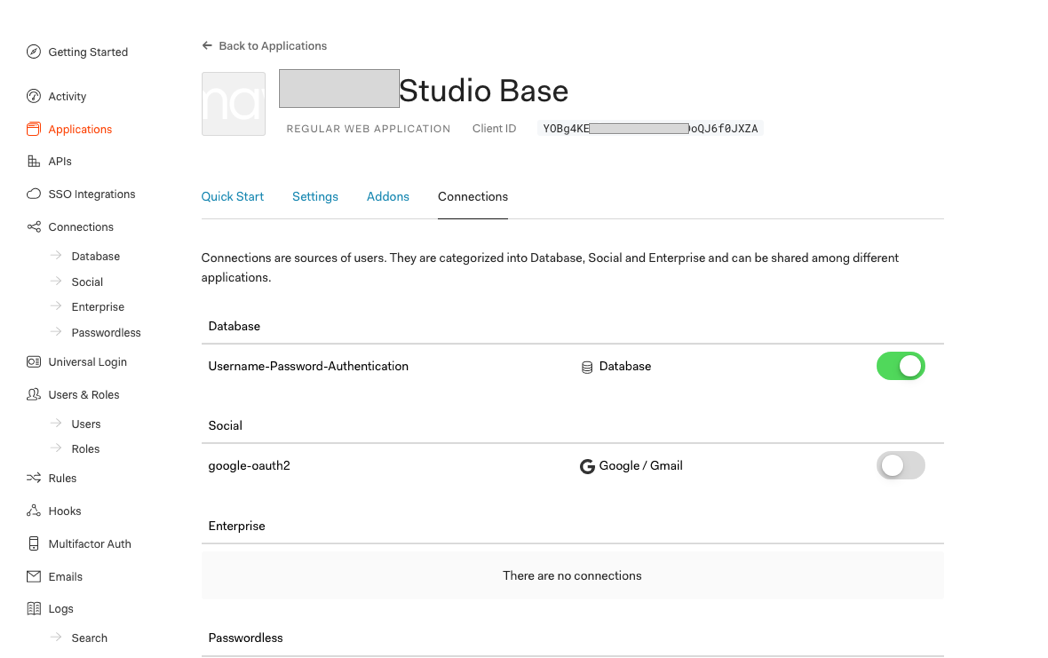
Advanced Application Config screen shot shows some of the details we need. OIDC conformant is good, and I believe the RS256 element is the default.
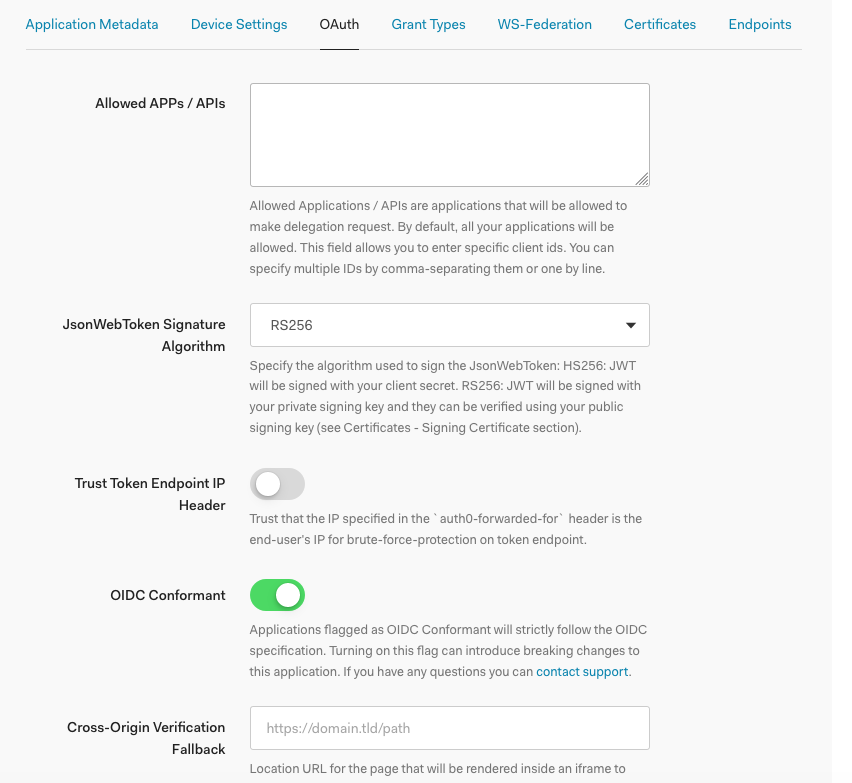
Users Config screen shows the most basic level of use of the built-in Auth0 database - with just one user so far. It's easy to add more, and there are even settings to allow users to sign up themselves.
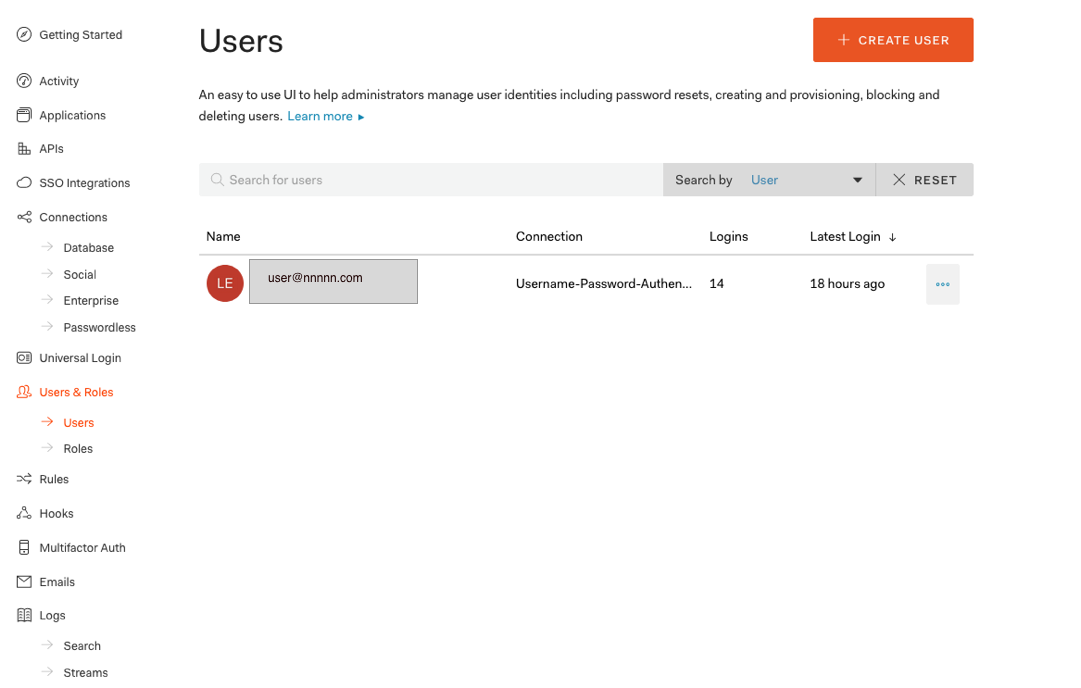